STEP 5 - Creating a background picture template file for the main product pictures
We need to start designing our eBay auctions to use with our stock system. Because it is fully customisable, this happens in several steps.
1. On the main menu, click on 'Background images' and then 'Create Background Picture' and then select the 'General 04':
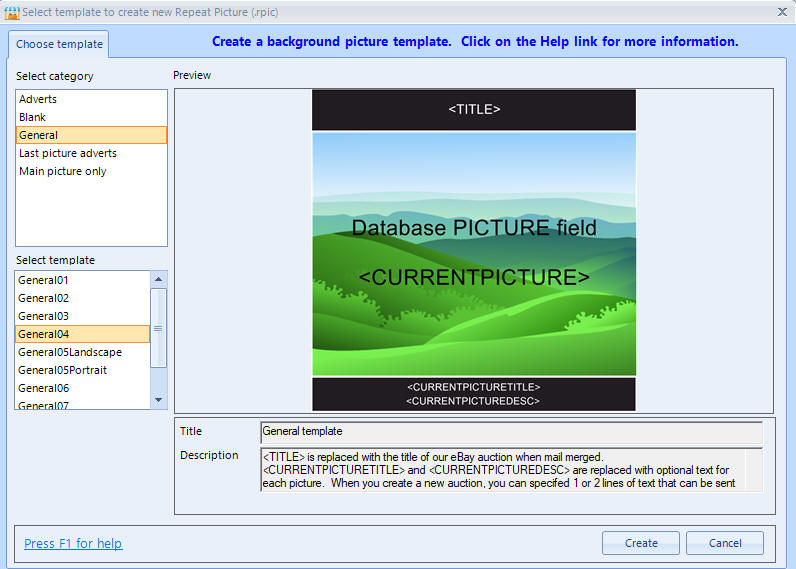
2. Click on the Create button which loads the designer.
The designer allows you to move stuff around, change labels and text, etc. Text that has <> around it such as <TITLE> are placeholder variables which will be used when we merge our stock, picture templates and auction templates into the final finished auctions.
3. We just need to quickly adjust how pictures display. Double click the centre picture, and go to the 'Auto crop' tab. Change the entry to 'AUTOCROP KEEP PICTURE SHAPE':
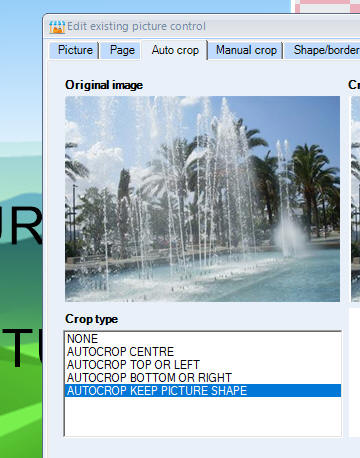
and click on 'OK' to close the edit screen. The comic pictures are all tall and thin shaped, i.e. portrait, and the shape of our picture control is wide, so our pictures would be stretched. Changing to 'AUTOCROP KEEP PICTURE SHAPE' will just make sure that the comic pictures will display correctly.
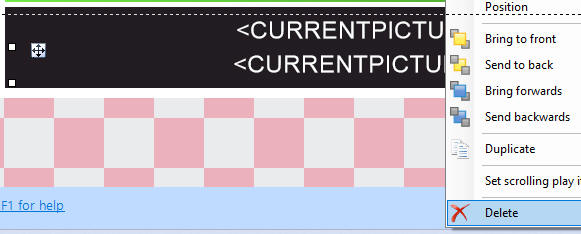
4. Click on <CURRENTPICTUREDESC> to select it and then right mouse click and delete it:
5. Double click <CURRENTPICTURETITLE> and then change the text to:
<NAME>
Make sure this is exactly the same as above:
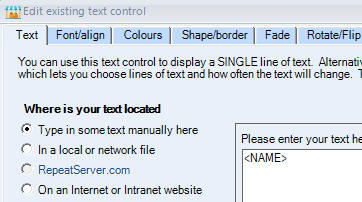
and click on OK.
5. For the second, let's just save the template as is, so click on 'File' then 'Save' and enter 'MainPictureTemplate' as the name:
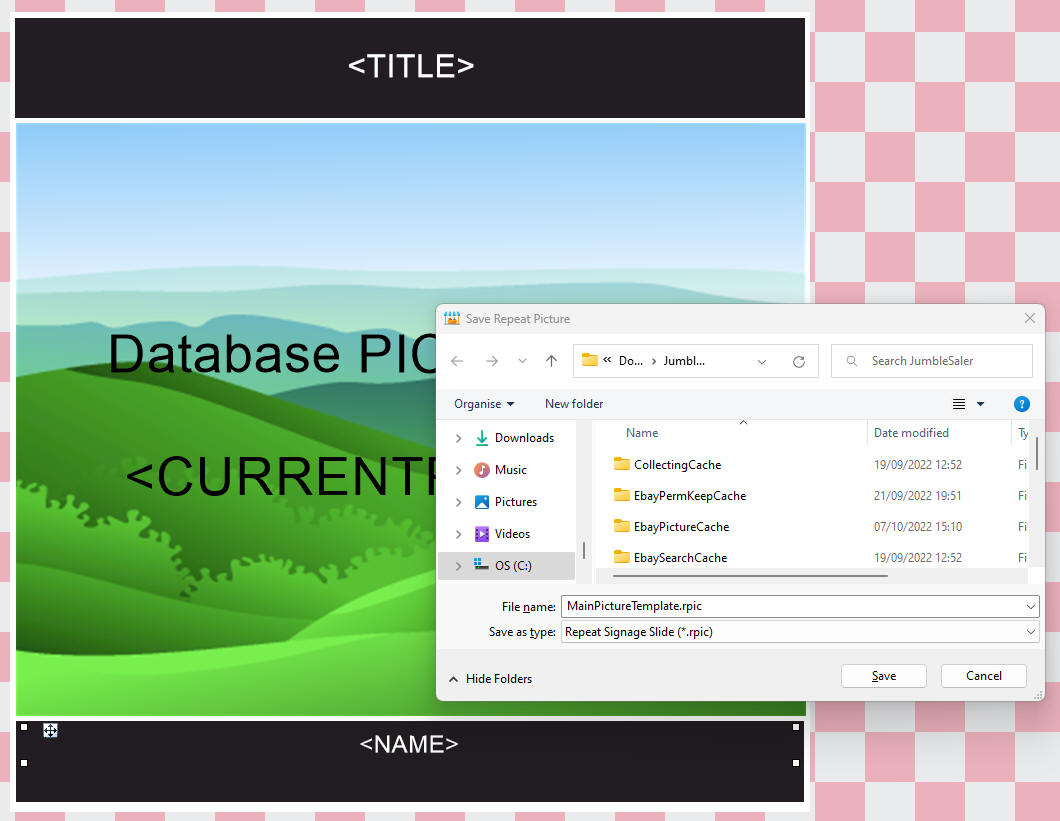
6. Close the designer by clicking 'File' on the menu and then 'Exit'.
Next step - Step 6
Previous step - Step 4
Return to Step 1
Support
Any problems with the walkthrough? Just contact our Support Department and they will be happy to help.